


About My Clay Table
Born from a love of food and ceramics, My Clay Table is a celebration of the present moment. Each piece is a reminder to slow down and savour life’s little rituals.


Speckled Tumblers - Limited Edition
Speckled Tumblers - Limited Edition
Hurry up, only 3 items left in stock.
Share this product
Ceramics Care 101
Your handmade pieces deserve more than just a wipe. Get our free Ceramics Care 101 guide. Full of practical tips to clean, store, and protect your ceramics so they last a lifetime.
Recent Posts
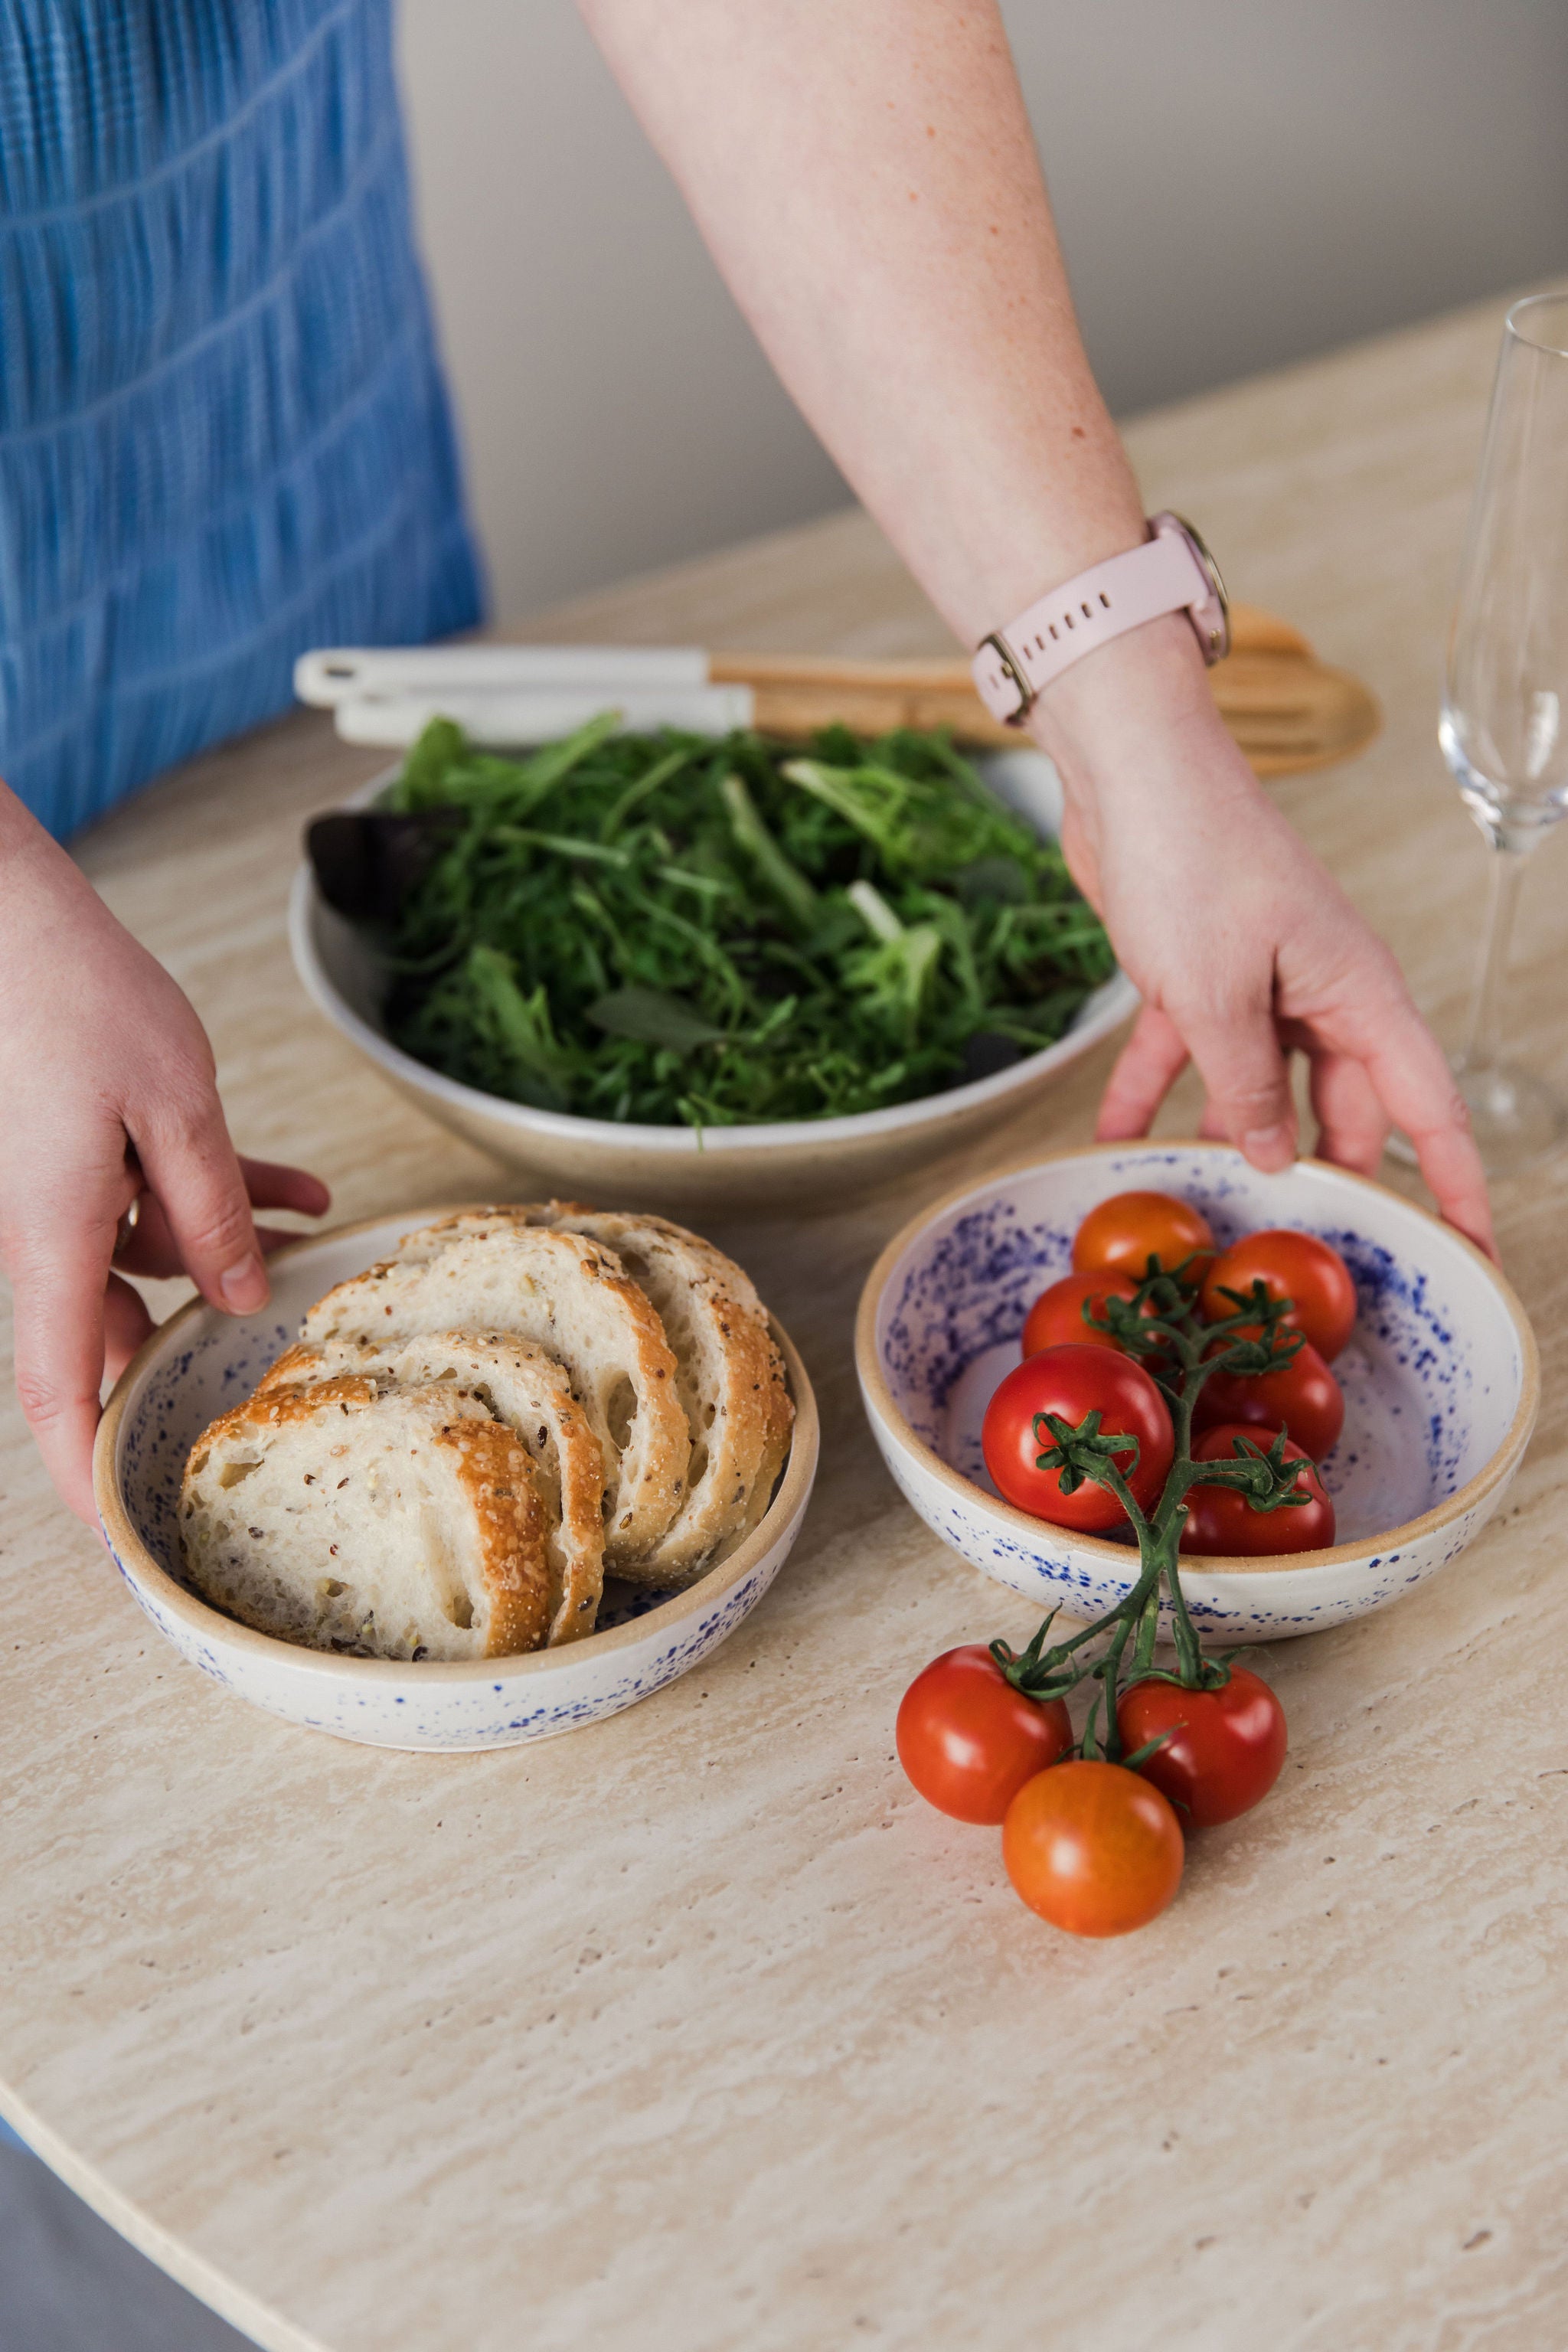
At the Table is where the story of My Clay Table comes full circle.
Our ceramics are made to be used, to hold food, to share drinks, to gather people together.
Because what is the point of a beautiful bowl if it never gets filled?

Thai Style Pumpkin Soup
Creamy, fragrant, and gently spiced, this Thai-inspired pumpkin soup is the ultimate comfort in a bowl. With coconut milk and green curry paste, it’s full of warmth and flavour—perfect for cosy nights or easy entertaining. Serves 6 Time 50 mins INGREDIENTS: 2 cloves garlic, crushed 1 onion, chopped 1 red chilli, finely chopped (optional) 3 tbsp green curry paste 1 kg pumpkin, chopped to 5cm pieces 1 large sweet potato (orange), chopped to 5cm pieces 2-3 cups water 1 can coconut milk To serve: Natural yoghurt Coriander Chilli flakes (optional) INSTRUCTIONS: Heat the olive oil in a large pot over a medium heat Add the onion and crushed garlic and chilli (optional) and saute until the onion is soft Add the green curry paste and stir to form a thicker paste Add the pumpkin and sweet potato and fill with 2-3 cups of water or until ¾ of the vegetables are covered Bring to the boil, then reduce to a simmer for about 20 minutes or until the pumpkin and sweet potato is cooked through Remove the pot from the stove and use a potato masher to combine the vegetables into a chunky soup, or use a stick blender to puree the soup smooth Place the soup back on a low heat and stir in the coconut milk Serve topped with natural yoghurt, coriander and chilli flakes (optional)
Learn more
Chocolate Baked Oats
Rich, fudgy, and wholesome, these chocolate baked oats are a treat that feels indulgent but stays nourishing. Perfect for mornings when you want something cozy with a touch of sweetness. INGREDIENTS: ½ cup rolled oats 1 banana 1 egg 1 tsp vanilla essence 1 tsp honey ½ teaspoon baking powder ½ tsp ground cinnamon 1 tablespoon cocoa powder INSTRUCTIONS: Preheat the oven to 180. Grease a ramekin or oven-safe pan with cooking spray. In a blender combine all the ingredients except the apple. Blend until smooth and pour into the greased ramekins. Bake for 15-20 minutes until a skewer comes out clean
Learn more
Apple and Cinnamon Baked Oats
Warm, comforting, and naturally sweet, these baked oats are like apple pie for breakfast. They’re simple to make, full of goodness, and the perfect way to start your day. INGREDIENTS: 1 cup rolled oats 1 banana 2 egg 2 tsp honey 1 teaspoon baking powder 1 tsp ground cinnamon ½ apple, grated INSTRUCTIONS: Preheat the oven to 180°C Grease two ramekins or an oven-safe pan. In a blender combine all the ingredients except the apple. Blend until smooth. Stir through the grated apple and pour evenly into the greased ramekins. Bake for 15-20 minutes until a skewer comes out clean Serve with some yoghurt of your choice.
Learn more
Slow Cooker Beef Tacos
The slow cooker does a great job of turning cheaper cuts of meat into the most delicious dish. This recipe uses gravy beef and with the addition of apple cider vinegar and brown sugar, breaks down into the most tender beef perfect for layering into soft taco shells. Mexican food is the ultimate combination of salt, fat, acid & heat to get the perfect meal. Serves 6-8 Time INGREDIENTS: 1 tbsp olive oil 1 kg gravy beef 4 garlic cloves, crushed 1 cup beef stock ¼ cup brown sugar ¼ cup apple cider vinegar Salt & pepper to taste Spice mix 1 tbsp chipotle chilli 2 tsp oregano, dried 1 tsp smoked paprika 1 tsp coriander, ground ½ tsp cumin, ground To serve: Soft shell tacos Lime wedges Coriander Shredded cabbage Guacamole Sour Cream INSTRUCTIONS: Combine all spices into a small bowl and mix well. Heat oil in a fry pan over a high heat, sear beef in batches quickly on each side and sprinkle with some of the spice mix. Transfer the beef straight into the slow cooker. Continue this step until all pieces of beef are done. Add the garlic, beef stock and remaining spice mix into the slow cooker pot. In a small jug, mix the brown sugar and apple cider vinegar together, until brown sugar starts to dissolve. Pour this over the beef. Cover and cook on low for 8 hours. Once the time is up, take a slotted spoon and spoon the beef into a bowl. Take two forks and gently break up the beef mixture. Pour a few spoonfuls of sauce from the slow cooker over the beef and you’re ready to serve. To serve: Soft shell tacos Lime wedges Coriander Shredded cabbage Guacamole Sour Cream NOTES: If you’re short on time, you can cook this on high in the slow cooker for 4 hours. If you’re serving for a dinner party, I suggest making this the day before and reserving extra liquid from the slow cooker at the end. Add the extra liquid to the beef just before re-heating to prevent it drying out.
Learn more
Tomato, Chorizo and White Bean Soup
Hearty, smoky, and full of rich flavour, this soup combines spicy chorizo with tender beans and a tomato base for the perfect winter warmer. Serve with crusty bread for a simple, satisfying meal. Serves: 6 Prep time: 20 min Cook time: 30 min INGREDIENTS: 1 tbsp oil 2 garlic cloves, crushed 3 red capsicum, diced 2 tsp smoked paprika, ground 2 cans of tomatoes, crushed 1 L vegetable stock 6 chorizo sausages, sliced 1 can cannellini beans, drained and rinsed Fresh parsley to serve INSTRUCTIONS: Heat oil in a large pot over a low heat. Add garlic and red capsicum, stirring occasionally, for 3-4 minutes or until soft. Add smoked paprika, and cook for 1 minute or until aromatic. Add canned tomatoes and stock and simmer until capsicum has softened Whilst simmering the tomato mixture, heat a fry pan over a medium heat and cook the chorizo on all sides so each piece is sealed. Set aside on a paper towel lined plate. Remove the tomato mixture from the heat and blend with a stick blender. Return the pot to the heat and add the chorizo and beans Simmer for 5-10 minutes and season to taste. Top with some parsley and serve with crusty bread
Learn more
Baked Eggs with Spicy Homemade Beans
Hearty and full of flavour, this dish turns your homemade baked beans into a deliciously satisfying meal. With runny eggs, crumbled feta, and crusty bread, it’s the perfect brunch or cozy weekend breakfast. Serves 4 INGREDIENTS: 1 batch of homemade baked beans 4 eggs 50g feta Handful of chopped parsley Bread to serve INSTRUCTIONS: Preheat the oven to 180°C Cook the homemade baked beans as per the recipe instructions in an oven-proof fry pan Once you’ve finished the beans, make 4 small circles in the bean mixture Crack an egg into each of the small circles and sprinkle with feta Cook on the stove top then once the egg white is set around the edges, place into the preheated oven under the grill Cook in the oven until the tops of the egg are set but the yolk is still runny Remove from the oven and scatter with fresh herbs to serve Serve on toasted bread of your choice
Learn more
Workshops
In a world that moves too fast, My Clay Table invites you to slow down. Our workshops are a chance for you to find some amidst the chaos of day to day life. Booking both public and private workshops find out how you can create, sip and unwind today.